
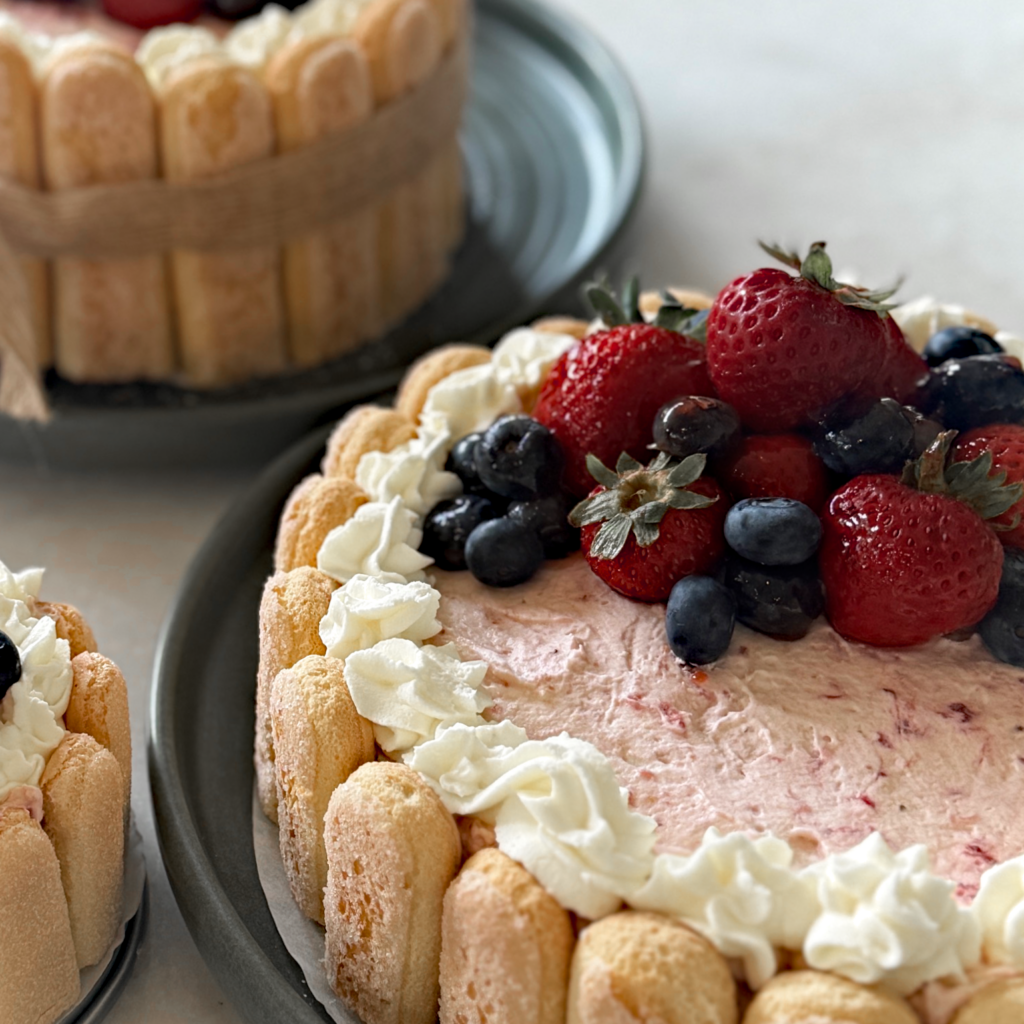
Strawberry mousse charlotte russe cake is my go-to for celebrations. Don’t let the directions fool you. This cake is simple and impressive, and it needs no baking! In fact, it’s low on effort and high on wow factor. First, a pretty ladyfinger shell hugs a cloud of silky strawberry mousse. Then glossy fresh berries crown the top. Best of all, each slice tastes like fresh summer strawberries.
It was the obvious choice for my granddaughter Charlotte’s first birthday. After all, it was the middle of summer. Nobody wants to turn on the oven in that heat, so no-bake cakes are a must. Meanwhile, this one chills in the refrigerator while you finish everything else. As a result, it stays cool and light. You can even make it the day before, which makes party planning much easier.
For her birthday, I made a small one just for her. It had the same ladyfinger shell and the same silky strawberry mousse as the full-size cake. Then I set it in front of her and watched. Soon, pink covered her from fingers to cheeks. She giggled the whole time. I don’t think I’ve ever seen a happier birthday girl. First, she pulled off the ladyfingers one by one. Next, she dug into the mousse underneath. Every bite got a little messier than the last. Even now, I treasure that moment.
If you have a little one’s birthday coming up, try a mini version. First, use a small springform pan or a few individual cups. Next, trim the ladyfingers to size. Finally, add the topping as you would on a full cake. Because it works in any size, everyone gets a taste. Keep plenty of napkins and your camera ready. The best part of the party might be watching the birthday girl dive in.
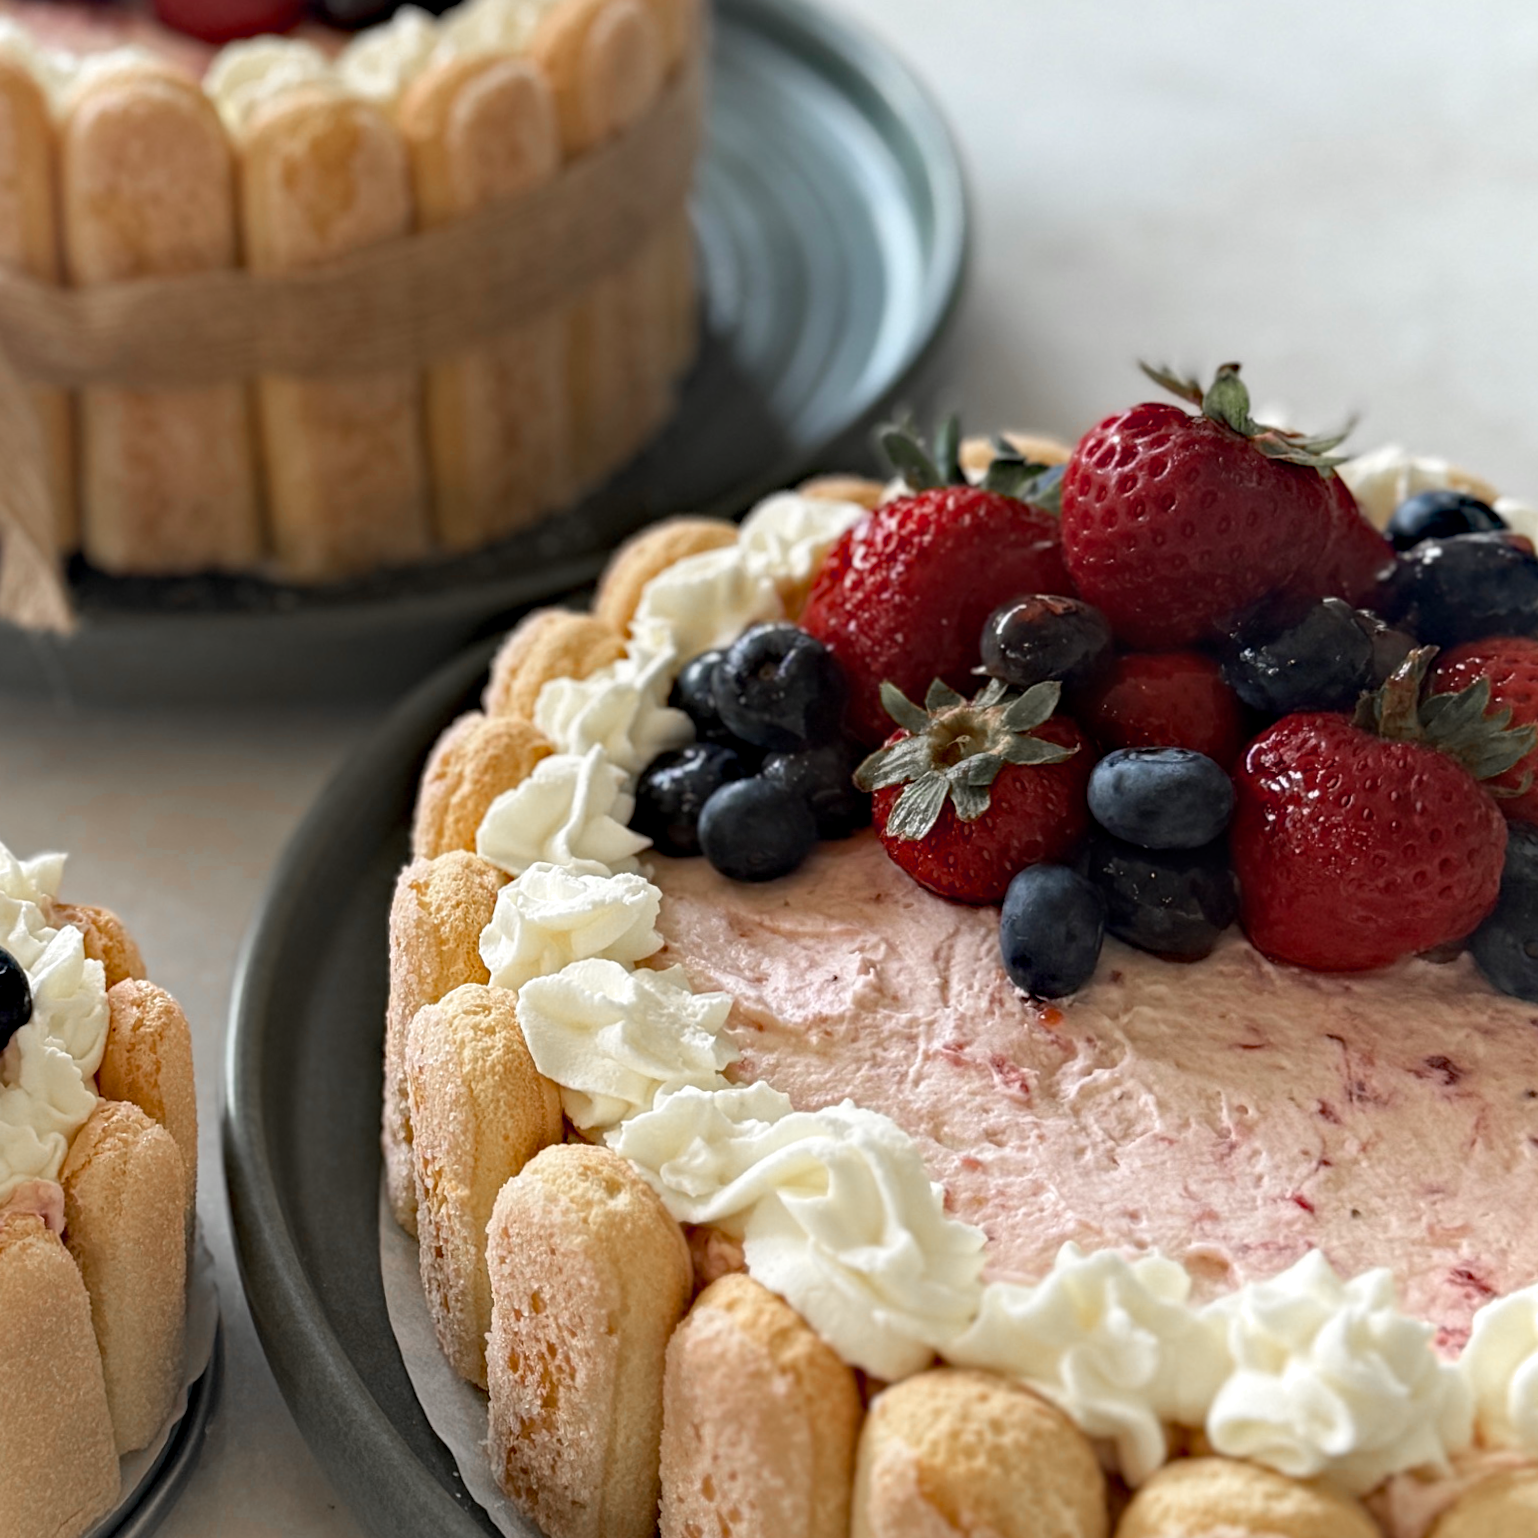
Strawberry Mousse Charlotte Russe Cake
Ingredients
Method
- Assemble the Shell
- Line the bottom of a 9-inch springform pan with a round of parchment paper. Stand the ladyfingers upright around the inside edge of the pan, rounded side out, with the sugared sides facing out and fitting snugly. Trim a few as needed to fit the base, then arrange them in a tight layer on the bottom of the pan.
- Make the Mousse
- Puree the strawberries, granulated sugar, and lemon juice in a blender or food processor until smooth. You should have about 1 1/2 cups of puree.
- Sprinkle the gelatin over the cold water in a small bowl and let it sit for 5 minutes, until spongy.
- Warm 1/2 cup of the puree in a small saucepan over low heat until hot but not boiling. Remove from the heat, add the gelatin mixture, and stir until completely dissolved.
- Stir the warm gelatin mixture into the remaining puree. Refrigerate for 20 to 30 minutes, stirring occasionally, until cool and slightly thickened but not set.
- In a chilled bowl, whip the cream, powdered sugar, and vanilla to medium-stiff peaks.
- Fold about one-third of the whipped cream into the strawberry mixture to lighten it. Gently fold in the remaining whipped cream until no streaks remain.
- Spoon the mousse into the ladyfinger-lined pan and smooth the top. Cover and refrigerate for at least 6 hours, or overnight, until fully set.
- Top and Serve
- For the glaze, warm the jelly and water in a small saucepan or microwave until pourable. Cool slightly.
- Toss fresh fruit in the cool glaze and arrange the berries on top of the set mousse.
- Run a thin knife around the edge, release the springform, and remove the parchment base if desired. Slice with a warm, clean knife.
Notes
Make it the day before for the cleanest slices.
Don’t add the gelatin mixture to the cream while it’s hot, since that deflates the mousse.
If the puree sets before you fold it in, warm it gently for a few seconds and stir.
Use crisp ladyfingers for a firmer shell, or soft ladyfingers for a more cake-like texture.
For a sturdier wall, tie a ribbon around the finished cake.
Brush the ladyfingers with a little strawberry syrup or simple syrup if you want them softer.
Store covered in the refrigerator for up to 3 days. Do not freeze.
Leave a Reply